Tornado Interceptor Lab Interceptor Build Tier List (Beta)
S–C rankings for archetypes based on wind thresholds, flap coverage, and chase roles—not official Arvexa balance.
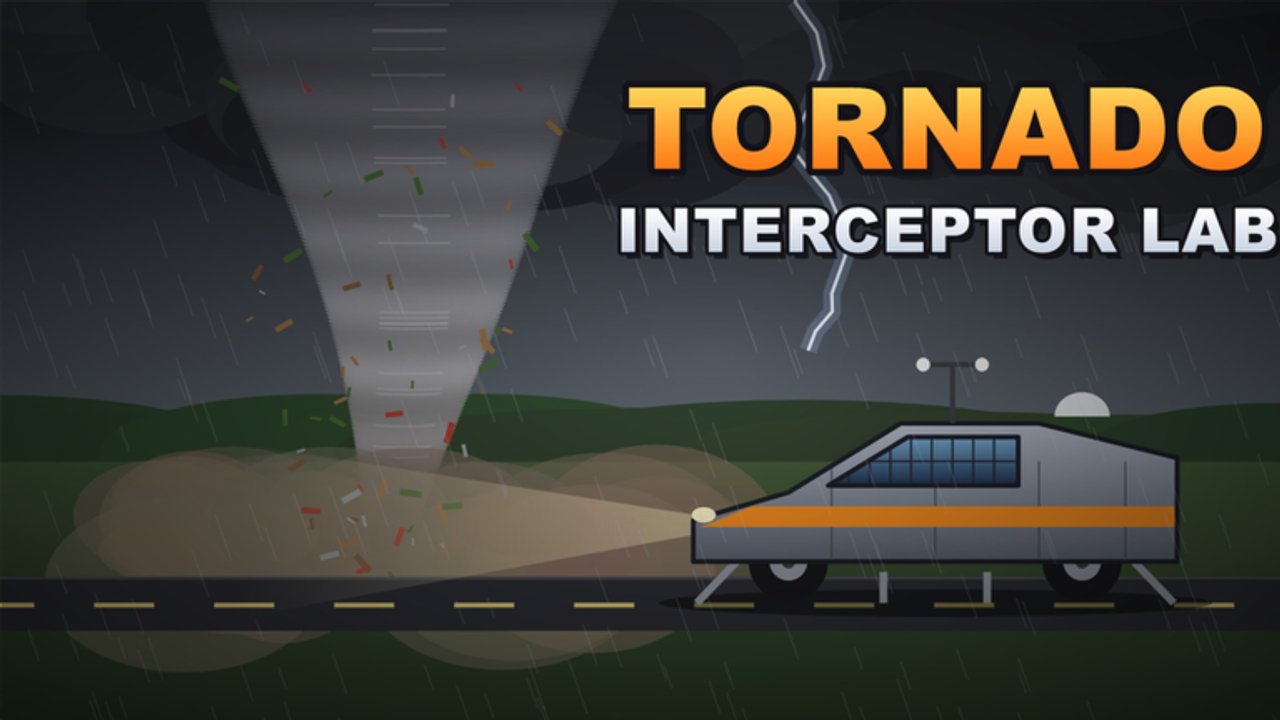
How to read this Beta tier list
Tornado Interceptor Lab [Beta] launched early access on 2026-11-04. Balance, part behavior, and wind math can shift without a formal patch blog. Rankings below are community-informed archetype grades drawn from builder tips (keep the vehicle low so flaps cover wheels for roughly +30–50 threshold), popular Dominator-style frames, Cad 1 prototype inspiration, and chase roles in ~10-player servers. They are not an official Arvexa studio ladder.
Criteria we weigh:
- Survivable wind threshold versus EF-scale storms (including rare EF6 ~261+ mph)
- Stability when flaps, spikes, and deployment kits are active
- Ability to close distance without flipping or shedding armor
- Ease of rebuilding after a failed intercept
- Flexibility for paint / hide-parts experimentation in the lab
Use this hub with how to build, flaps and deployment, and the Tools QA checklist before you treat any grade as gospel.
S tier — Low-profile flap tanks
Why S: The strongest recurring community tip is profile height. A low chassis lets deployed flaps shroud the wheels, which players associate with a +30–50 effective threshold bump. That single habit turns average frames into storm sponges against high EF winds.
Playstyle: Roll in heavy, deploy early enough that flaps seat before you enter the violent band, and accept that top speed is secondary to not getting peeled apart. Pair with careful intercept positioning.
Watch-outs: Overbuilding height for “looks” cancels the flap advantage. Test in calmer cells before you hunt headline tornadoes.
A tier — Spike Dominator-likes
Why A: Dominator-inspired spike layouts remain popular because they look aggressive and help with bite, traction narrative, and intimidation in multiplayer chases. Spikes shine when you need commitment tools after flaps are online.
Playstyle: Establish flap coverage first, then use spikes as the commitment layer while you ride the storm wall. Great showcase builds for the Players community gallery mindset.
Watch-outs: Spikes without a low flap plan are cosplay. Deployment order matters—see flaps and deployment.
A / B border — Cad-style prototypes
Cad 1 prototype vehicles circulating in the community sit high because they demonstrate thoughtful lab design: readable silhouettes, testable modules, and teaching value for new builders. Treat Cad-likes as A when they respect the low-flap rule; drop them toward B if they prioritize showcase geometry over wheel coverage.
Playstyle: Iterate in the lab, paint clearly so teammates recognize your prototype, and record what wind speeds you survive. Gameplay featuring Cad 1-style runs is a solid onboarding watch alongside Getting Started.
B tier — Speed chasers
Why B: Pure speed frames close tornados fast and look exciting on mobile and console, but they often sit taller or lighter, shedding threshold when EF ratings climb. Excellent for scouting cells and filming attacks; riskier as your only EF5/EF6 answer.
Playstyle: Spot the storm, mark a line, hand off to a flap tank if your lobby cooperates, or accept shorter survival windows. Tune using controls so you are not fighting the UI mid-chase.
Watch-outs: High center of gravity plus late flap deploy equals highlight-reel failures.
C tier — Tall show cars and untested mashups
Why C: Lifted bodies, decorative-only parts, and random welded clutter that never sees a wind test. Fun in the lab parking lot; unreliable when the siren goes up.
Playstyle: Use them to learn paint, hide-parts, and builder UI, then graduate parts onto an S/A chassis. The how to build guide covers frame discipline.
Role flex chart
| Archetype | Threshold focus | Chase speed | Beginner friendly |
|---|---|---|---|
| Low-profile flap tank | Excellent | Medium | High once flaps understood |
| Spike Dominator-like | Strong | Medium | Medium |
| Cad-style prototype | Variable | Medium | High as a learning shell |
| Speed chaser | Weak–medium | Excellent | Medium |
| Tall show car | Poor | Variable | Low for intercepts |
How meta will move during Beta
Expect reshuffles when Arvexa patches wind forces, part masses, or deployment timing. Re-validate your personal best thresholds after each update. Share findings with other builders instead of treating a YouTube thumbnail tier as permanent.
Next steps
- Pick an S or A shell and run the Tools build QA list.
- Practice deploy timing in weaker storms before rare EF6 hunts.
- Compare notes on the Players Hub and refine paint so your lobby recognizes your role.
Community tiers help you choose a starting philosophy. Surviving the lab still comes down to low flaps, smart deployment, and calm driving when the wind crosses two hundred miles per hour.
Frequently Asked Questions
Quick answers about Tornado Interceptor Lab on Roblox.
Is this an official Arvexa tier list?
No. It is a community-informed Beta ranking of build archetypes based on public tips and chase roles.
Why are low-profile flap tanks ranked S?
Players consistently report better wind thresholds when flaps cover the wheels on a low body—often cited around a +30–50 boost.
Where do Cad 1 prototypes fit?
Cad-style builds rank high as learning and showcase shells; keep them A-tier when they still obey flap coverage rules.
Will these tiers change?
Yes. Beta patches can alter wind and parts. Recheck after updates and adjust your main interceptor.
Should beginners start with speed chasers?
They are fine for scouting, but most new players survive longer by learning flap tanks first.