Getting Started in Tornado Interceptor Lab
From first join to your first intentional intercept—Beta onboarding without the panic.
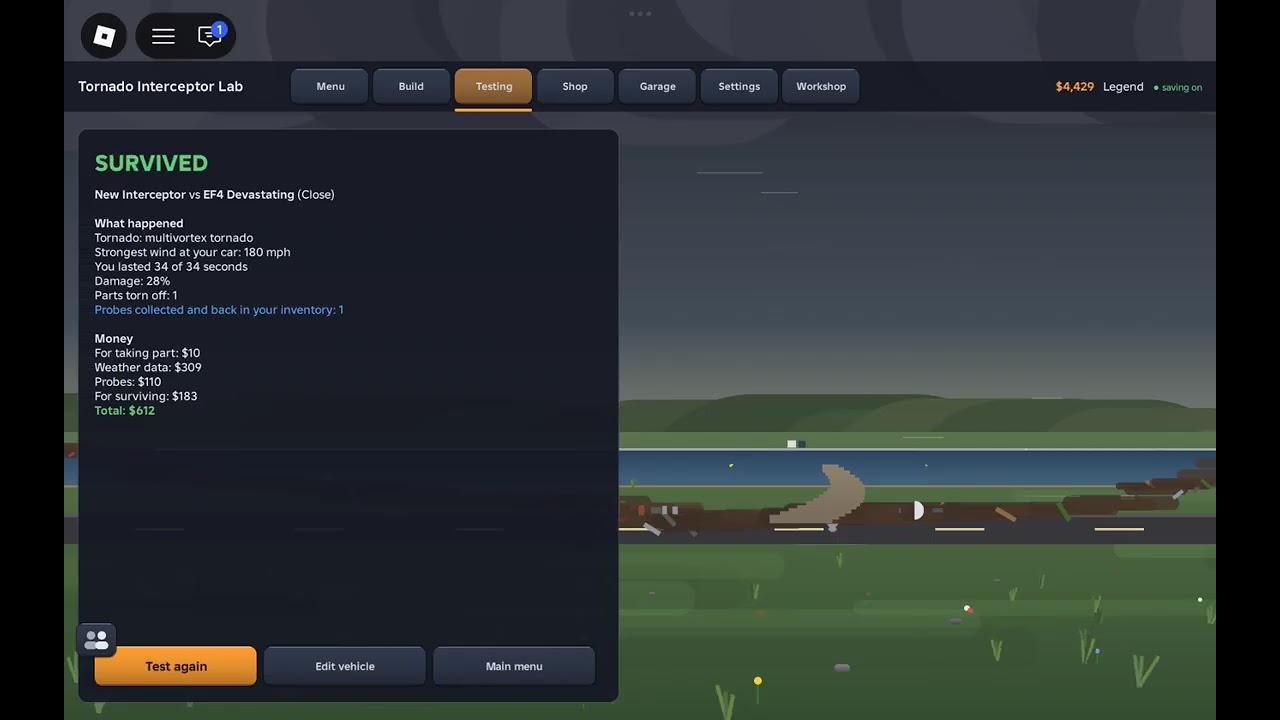
Welcome to the lab
Tornado Interceptor Lab [Beta] puts you in Arvexa studio’s Roblox workshop for custom storm-chasing vehicles. Since 2026-11-04, players on PC, mobile, and console have been welding frames, painting shells, deploying flaps and spikes, and driving into EF-scale wind. Servers are online multiplayer with roughly ten seats, so you will share the sky with other interceptors almost immediately.
This guide is your first-hour path. It assumes zero prior time in the place and zero tolerance for fake codes or sketchy scripts—those topics live on Codes and Scripts if you need the honest empty-state explanations later.
Step 1 — Launch and set expectations
- Open the official Roblox place from the Wiki overview.
- Allow the experience to finish streaming assets; Beta UIs sometimes pop tutorial overlays late.
- Remember the label on the box: Beta. Physics quirks, unfinished panels, and sudden hotfixes are normal. Report cleanly via the community Discord developers promote for join links.
- Decide your first goal: learn the builder, not “solo a mythical EF6 on day one.”
If the lobby feels chaotic, treat other players as moving reference material. Someone in a low flap tank is worth watching more than someone doing doughnuts in a tall show car.
Step 2 — Learn the fantasy before the buttons
Your job loop is simple:
- Build a vehicle that can take wind
- Kit it with flaps, spikes, and deployment options
- Chase tornadoes rated in EF language
- Survive long enough to bring data home
- Iterate in the lab
Community wisdom you should memorize early: keep the vehicle low so flaps can cover the wheels, a habit players associate with roughly +30–50 better threshold. That single idea matters more than fancy paint. Deep dive later in Flaps, Spikes & Deployment.
Step 3 — First build mindset
Do not start by copying the loudest Dominator screenshot. Start with:
- A stable, low chassis
- Clear wheel wells flaps can actually seal
- Minimal decorative towers
- Paint you can recognize in a crowd
Use How to Build an Interceptor when you are ready for frame, paint, and hide-parts detail. For now, prioritize anything that keeps mass centered and height modest. Cad 1–style prototypes are excellent study pieces because they read clearly on video and in lobbies—watch how modules sit, then adapt, do not blindly mirror every rivet.
Step 4 — Controls literacy before the chase
Spend five minutes in a safe area with the Controls article open:
- Driving and camera comfort on your device
- Builder versus drive mode transitions
- Spray can, including bucket fill mode for faster panels
- Deploy inputs for flaps / kits so you are not hunting menus inside a debris field
Muscle memory here prevents the classic Beta death: perfect chassis, zero deploy because you panicked.
Mid-session video study
After your first shell exists, watch a real gameplay segment that highlights lab energy and Cad-style prototyping. Use it to compare camera distance, approach angles, and how finished vehicles look under stress—not as a promise that every part still matches today’s Beta build.
Step 5 — First intercept (easy mode)
When a milder storm is up:
- Leave with flaps ready to deploy—not decorative.
- Approach from a clear road line; avoid dense player pileups.
- Deploy early enough that coverage seats before peak buffeting.
- If the vehicle starts to shed pieces, peel off and log what failed.
- Return to the lab while the lesson is fresh.
Full positioning theory, EF5 notes, and rare EF6 (~261+ mph) survival ideas live in How to Intercept Tornadoes. Pair attempts with the Tools intercept prep checklist so you do not skip wheel-coverage verification.
Step 6 — Place yourself on the early meta map
After two or three runs, skim the Tier List Hub:
- S — low-profile flap tanks
- A — spike Dominator-likes (once flaps work)
- A/B — Cad-style prototypes depending on discipline
- B — speed chasers
- C — tall show cars
Pick a lane for your second evening. Specialization beats owning five broken shells.
Step 7 — Social layer without the scams
- Join developer-linked Discord for invites and bug talk (Players)
- Ignore “free admin car” DMs
- Ignore code lists that this wiki refuses to invent
- Share threshold notes, not passwords
Common beginner mistakes
- Building tall because it looks tougher
- Deploying flaps after you are already inside violent wind
- Chasing every tornado regardless of kit readiness
- Spending the session hunting scripts instead of wrenching
- Assuming Beta silence means the game is “dead”—check Updates
First-hour success criteria
You are “started” when you can:
- Produce a low vehicle that accepts flaps over the wheels
- Deploy without opening five wrong menus
- Attempt one intentional intercept and explain why you survived or failed
- Name the archetype you want to main next session
Hit those four, and the rest of the wiki becomes reference material instead of a wall of text. Welcome to the lab—keep the chassis low, the flaps honest, and the notebook closer than the hype.
Frequently Asked Questions
Quick answers about Tornado Interceptor Lab on Roblox.
How long is the real tutorial?
Beta onboarding overlays vary. Budget 10–20 minutes to learn builder and deploy before serious storms.
Should I buy anything on day one?
Learn flap coverage and controls first. Optional Roblox purchases never replace a low, well-deployed shell.
What is the Cad 1 prototype?
A community prototype style featured in gameplay; use it as a learning reference for clean module layout.
Can I play solo?
You can focus on your own craft, but servers are online multiplayer with others present in the lab and field.
Where do I go after this guide?
Controls, then How to Build, then Flaps & Deployment, then How to Intercept with the Tools checklist.